


« April 2011 | Main | June 2011 »
May 15, 2011
Decals
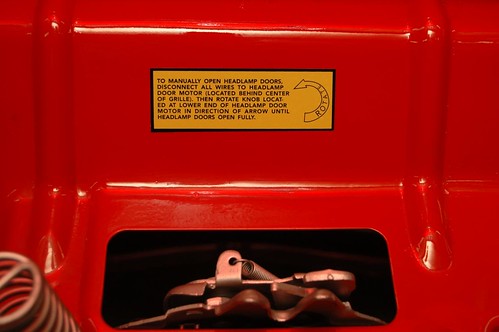
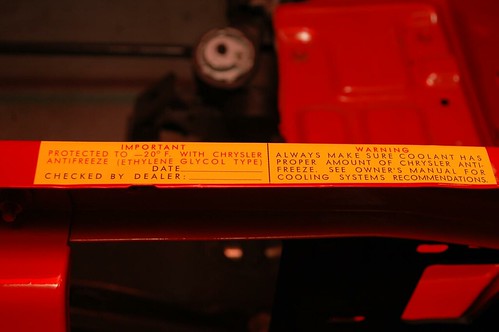
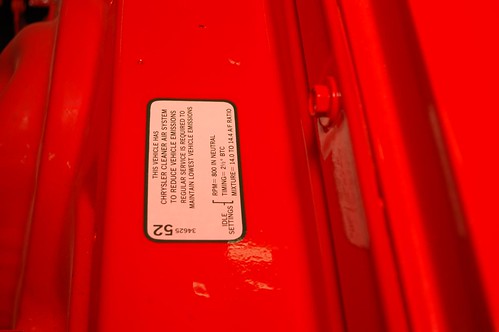
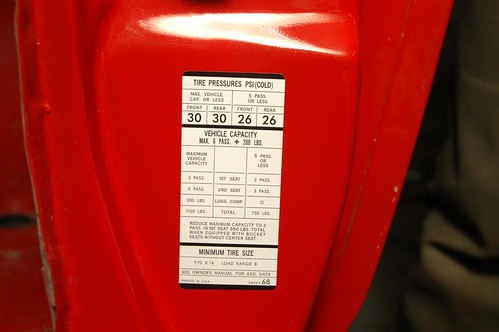
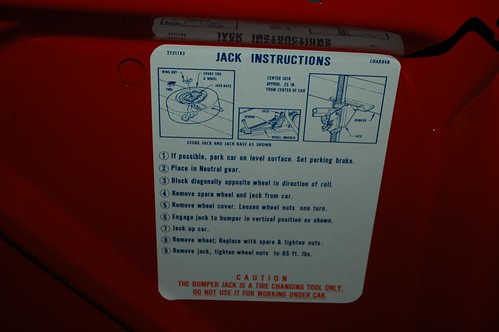
One of the steps I have been very excited to be able to perform was purchasing and installing the various authentic reproduction decals that go around the car. I purchased most of the decals from Performance Car Graphics, and I have to say the quality and service were outstanding. I ordered my reproduction VIN decal from ECS Automotive Concepts , and my dealings with them could not have been better. They were fantastic and fast. I also purchased from Performance Car Graphics a matte black tail stripe and air cleaner decal, which have not yet been installed.
Headlight door motor decal
Antifreeze decal
Emissions decal
Tire inflation decal
VIN decal

Jack instructions
Posted in 2004-present | RESTORATION | Reassembly | body | trim | link to this page | | Comments (0)
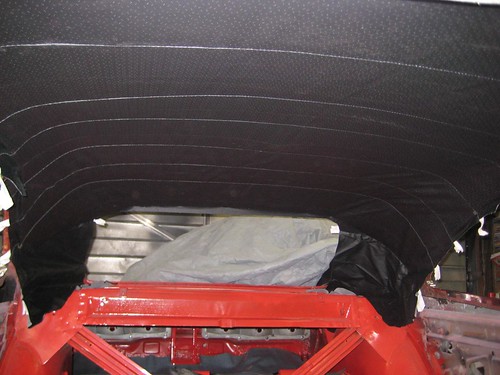
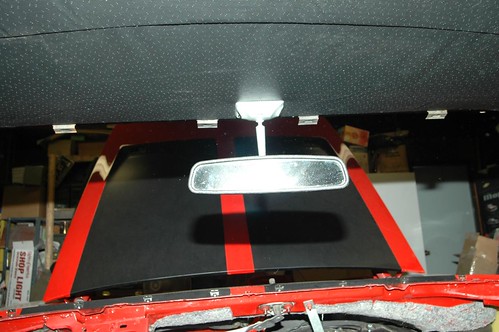
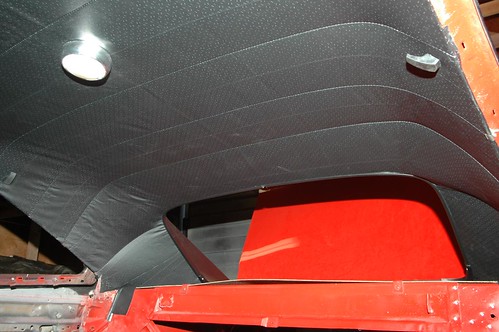
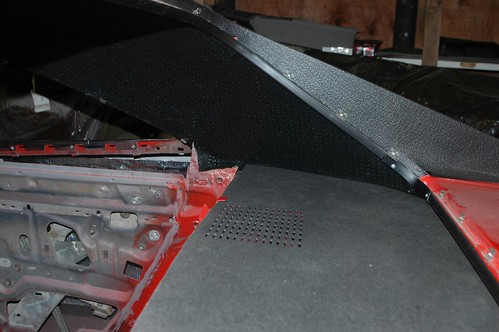
Headliner installation!
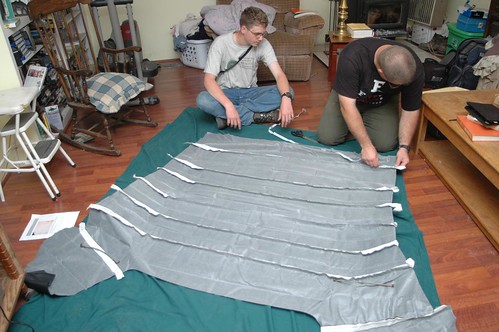
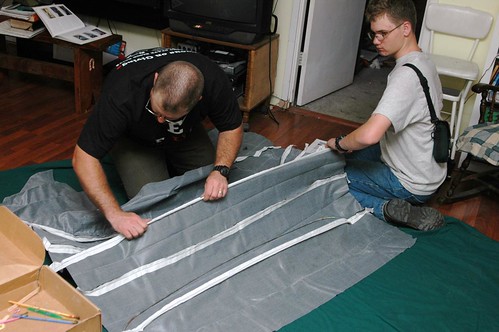
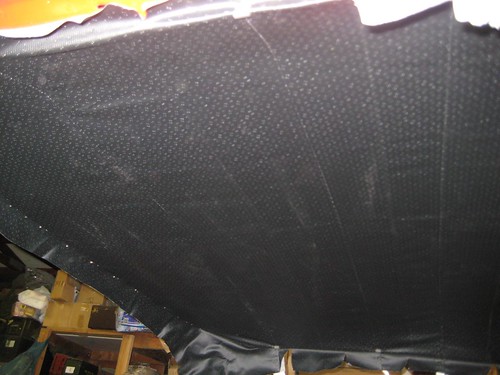
After reading everything I could find on the subject for months, thinking, and praying about it, I decided to attempt to install my own headliner. I'm sure my upholstery guy would have done a fantastic job for not too much money, but I really wanted to try it to see what it was all about. My son and I worked on this for three nights, and so far I am happy with the results. The headliner is in, the accessories are going on, I have worked the majority of the wrinkles out, and everything I read says it will only get better with time (and some attention from a steam tool of some kind).
The following pictures are taken in order over the course of those three days.


Posted in 2004-present | RESTORATION | Reassembly | interior | trim | link to this page | | Comments (1)
May 07, 2011
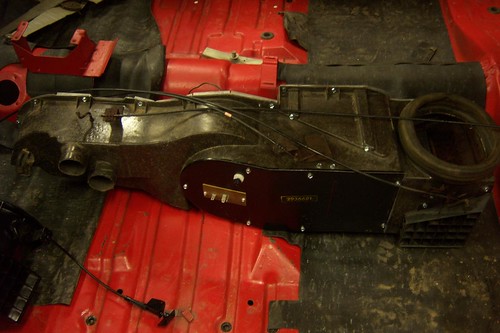
Heater box rebuilt and installed
One of the things that needed to happen inside the car before the dash and some other things could go in was that I needed to thoroughly go through my heater box and get it installed. I ordered a complete seal and gasket kit from Restorations By Rick, and it was excellent. Everything fit perfectly, and the instructions left very little to the imagination. My son and I stripped all the parts, sanded, painted, replaced the heater core with a new one, and replaced all the seals using the kit. Once this was complete, we reinstalled the heater box and driver's side vent assembly, which we had also cleaned and detailed. Although we repainted all the metal parts, you may notice that the original Mopar part number stamp is still visible on the front panel. Since that spot was in good shape, I covered it with clear tape, used a razor knife to outline it, and then repainted the front panel. When I pulled the tape off, the effect was pretty good.
heater box rebuilt, front
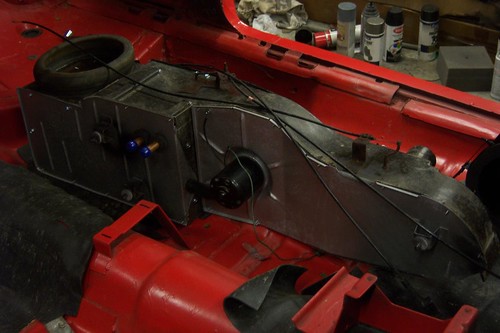
heater box rebuilt, rear
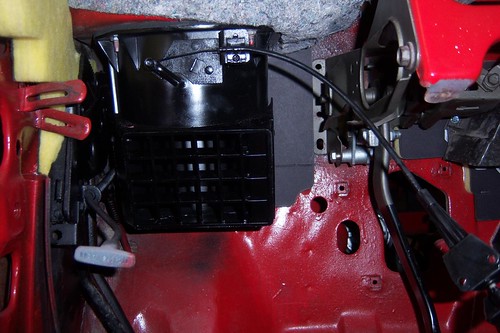
driver's vent installed
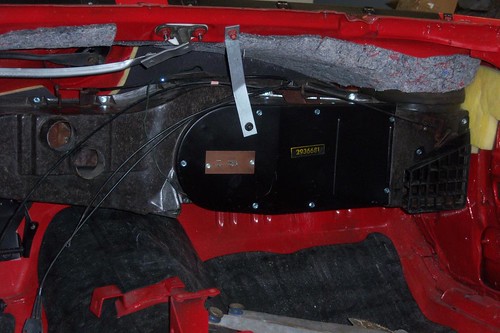
heater box, installed
Posted in 2004-present | RESTORATION | Reassembly | interior | link to this page | | Comments (0)